SANCTUARY PERGOLAS
  • Home
  • Projects
  • Products
  • Contact
Quick Estimate
Home
Products
Projects
Pergola Guides
Contact
Privacy Policy
InstagramFacebook
★★★★★5.0 · 61 Google reviews

Have a project in mind?

Let's talk

Warehouse

71G Montgomerie Road

Mangere, Auckland 2022

New Zealand

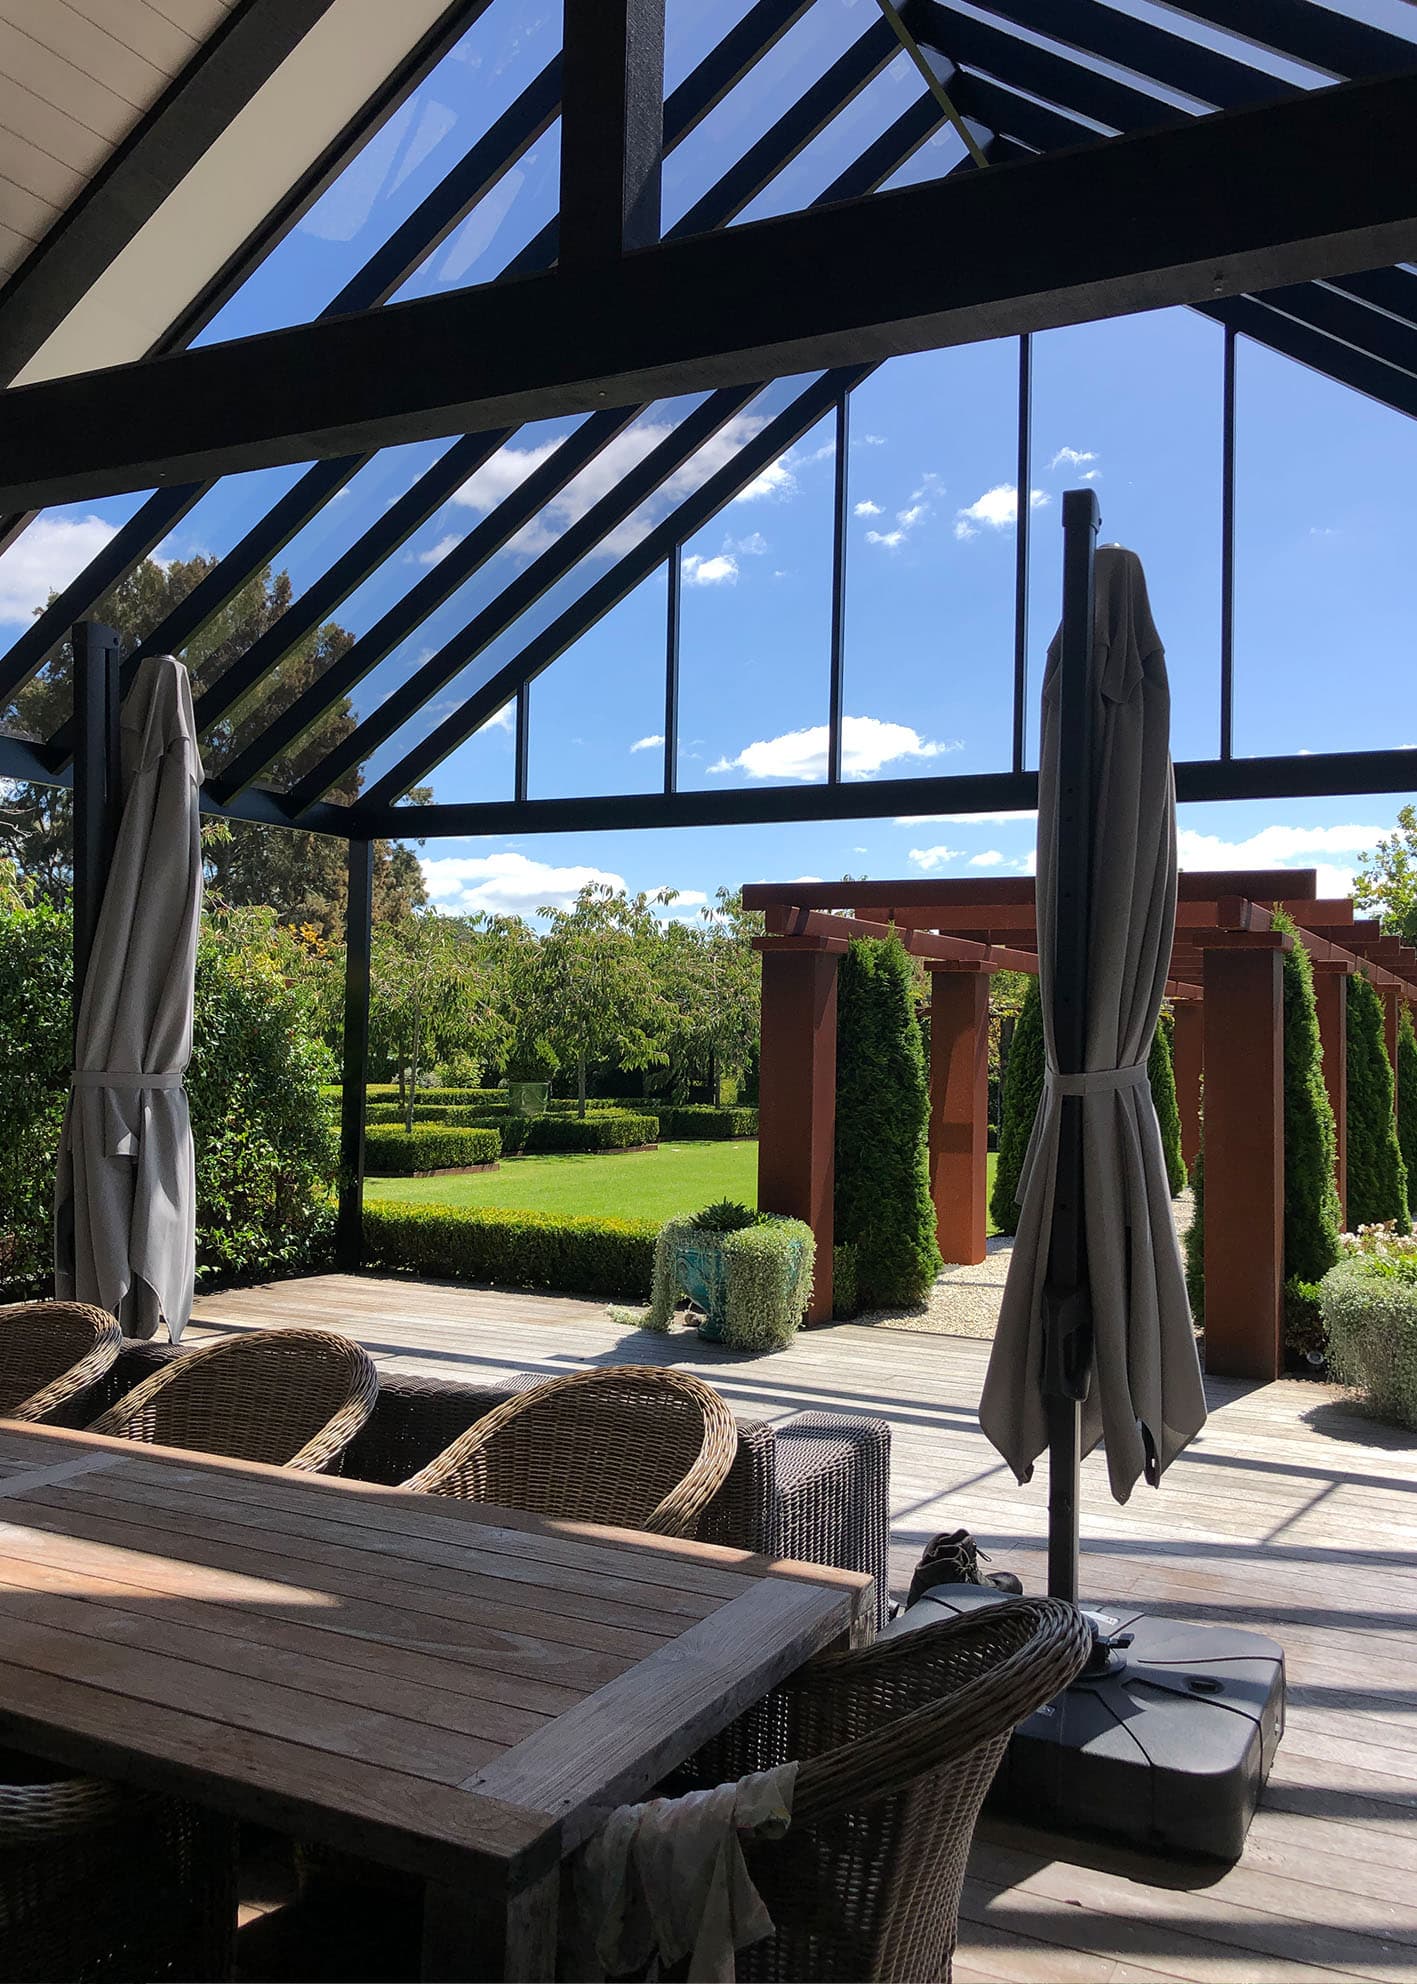
Gable pergola with acrylic roofing extending the roofline of an Auckland home

Custom acrylic pergolas for Auckland homes

Acrylic roof pergolas for Auckland homes, designed to keep the light

Create a sheltered deck or patio without making the home beside it feel closed in. Sanctuary designs custom aluminium pergolas with the roof form, acrylic tint, frame, drainage and optional accessories considered together.

Request an initial estimateCompare acrylic roof options
  • Site-specific tint and roof advice
  • Custom aluminium construction
  • Design through installation

Light, shelter and the house

Cover the space without closing it in

Adding a roof over a deck can solve one problem and create another.

The new cover may keep rain off the table, but the wrong roof depth, tint or position can reduce daylight into the kitchen or living room. Clear roofing may preserve the view of the sky, yet feel brighter than expected in direct afternoon sun. A dark tint may add welcome shade, but reduce more light than the adjoining room can comfortably lose.

That is why an acrylic roof pergola should be designed as a complete structure rather than selected from a roof sample alone.

Orientation, roof pitch, pergola depth, nearby windows, existing eaves, frame proportions, gutters, flashing and prevailing weather all influence the finished result.

For Auckland homeowners comparing covered pergolas, acrylic is often considered because it can provide overhead weather protection while retaining visual openness and allowing daylight through the roof.

The objective is not simply to install a clear sheet. It is to find the right balance between shelter, light, shade and integration with the house.

Material-led design

Why choose an acrylic roof?

01

Retain natural light

Acrylic roofing allows daylight through the roof rather than creating a fully opaque ceiling. Clear and lighter options can help preserve light around nearby windows and doors, while tinted and opal options can soften brightness.

The final effect still depends on the size and depth of the pergola, its orientation and the amount of existing daylight reaching the adjoining room.

02

Add practical rain cover

A properly designed roof provides overhead shelter so a deck or patio can be used in a wider range of conditions.

Open sides remain exposed to wind-driven rain. Where a site needs more protection, blinds, screens or infill panels may be considered as part of the design.

03

Preserve a visual connection to the sky

A clear acrylic pergola roof retains the strongest view through the roof plane. Tinted options maintain some transparency while changing the brightness and tone. Opal acrylic produces a more diffused effect without a clear view of the sky.

04

Suit different architectural forms

Acrylic roofing can be incorporated into mono-pitched, gable, hip and box-perimeter pergolas. It can also be used in attached or freestanding structures.

The roof form should respond to the house, available height, drainage requirements, desired proportions and how the space will be viewed from inside.

05

Integrate blinds, lighting and heating

Blinds can help manage low-angle sun, wind and privacy. Lighting can be planned around dining, circulation and seating areas. Heaters may be included where evening or cooler-season use is important.

These elements are best considered before the frame is finalised so that mounting positions, wiring and visual alignment can be resolved together.

06

Combine light and solid roof areas

Acrylic does not need to cover the entire pergola.

A mixed roof can retain daylight near doors, windows or circulation areas while providing a more shaded or ceiling-like treatment over seating and dining zones. Acrylic may be combined with timber-lined, opaque or insulated roof areas where the project design and selected systems allow.

Compare the visual effect

Clear, light grey, dark grey or opal acrylic?

There is no universally correct acrylic tint. The most appropriate option depends on the direction of the sun, roof area, pergola depth, nearby glazing, surrounding surfaces and how much daylight the adjoining rooms can afford to lose.

Clear acrylic

Visual effect
Transparent and visually open, with the strongest connection to the sky.
Relative daylight
Usually provides the highest relative daylight of the four options.
Glare and shade
Offers the least visual diffusion. It may feel bright in direct sun and provides less apparent shade than a darker or diffusing option.

May suit

  • Sites where preserving daylight is the primary objective
  • Areas that already receive limited direct sun
  • Courtyards where maintaining openness and sky views matters
  • Roof zones placed close to existing windows or doors

Sanctuary should assess

  • Direct afternoon sun
  • Reflections from light-coloured walls or paving
  • Pergola depth
  • The size and position of nearby windows
  • Whether blinds or a mixed roof may be useful

Light grey acrylic

Visual effect
A subtle tinted appearance that remains visually open without looking fully clear.
Relative daylight
Generally retains a high level of daylight while softening some brightness.
Glare and shade
Provides more visual softening than clear acrylic, but less than a darker tint or opal finish.

May suit

  • Homeowners wanting a balance between transparency and shade
  • Larger roof areas where fully clear acrylic may feel too bright
  • Sites with moderate sun exposure
  • Projects where the roof should remain visually light

Sanctuary should assess

  • The strength and timing of direct sun
  • The desired view through the roof
  • How the tint looks against the frame and house colour
  • Whether the adjoining rooms are already shaded

Dark grey acrylic

Visual effect
A more visibly tinted roof with a stronger shaded character.
Relative daylight
Allows less daylight through than clear or light grey acrylic.
Glare and shade
Can reduce perceived brightness more noticeably. Exact solar and heat performance depends on the approved product specification.

May suit

  • Highly exposed areas where shade is a stronger priority
  • Outdoor areas receiving sustained direct sun
  • Projects where a darker roof tone suits the architecture
  • Selected residential or commercial settings where glare needs greater attention

Sanctuary should assess

  • The risk of darkening nearby rooms
  • Roof depth and total roof area
  • How the roof will feel on overcast days
  • Whether a combination roof would provide a better balance

Opal acrylic

Visual effect
A translucent, diffused appearance rather than a transparent view through the roof.
Relative daylight
Allows soft, distributed daylight through the sheet, subject to the selected product.
Glare and shade
Diffuses direct brightness and can create a more even light below the roof. It does not retain a clear view of the sky.

May suit

  • Areas where softer light is preferred
  • Sites where direct brightness or visual glare is a concern
  • Larger roofs where evenly distributed light is desirable
  • Projects where overhead privacy or a more uniform ceiling appearance matters

Sanctuary should assess

  • Whether a clear sky view is important
  • The effect on adjoining windows
  • The roof area and orientation
  • The specific colour and light characteristics of the selected product

The whole roof changes the result

Choose for the site, not from the sample alone

A small acrylic sample cannot show how an entire roof will affect the house.

The recommendation should take account of where the sun moves, which rooms sit beside the pergola, how deep the roof will be, how much ventilation is available and whether the space is intended mainly for dining, lounging, circulation or year-round use.

The best tint is the one that resolves those conditions together.

Dark-tint acrylic canopy detail at Atelier Shu Cafe in Auckland

Heat, glare and summer comfort

Will it get too hot under an acrylic pergola?

Not necessarily, but an acrylic-covered area can feel warm or bright when the roof choice does not account for direct sun, orientation and airflow.

Clear acrylic prioritises daylight and transparency. In a location receiving strong summer sun, that same openness may produce more brightness or warmth than the homeowner expects.

Comfort depends on several interacting factors:

  • Roof orientation
  • Time and angle of direct sun
  • Acrylic tint
  • Pergola depth and roof area
  • Air movement through the sides
  • Nearby walls and glazing
  • Heat retained by paving or decking
  • Low-angle morning or afternoon sun
  • Blinds, screens and infill panels
  • The position of seating beneath the roof

Select the tint around the sun path

A lighter or darker tint may be appropriate depending on when direct sun reaches the space and how much daylight the adjoining rooms need.

Use a combination roof

Acrylic can be positioned where daylight matters most, with timber-lined, opaque or insulated areas over zones where more shade is wanted.

Retain ventilation

Open sides allow heat to disperse. Where blinds or infills are included, the design should consider how the area will ventilate when those elements are closed.

Control low-angle sun at the edges

Overhead tint does not solve every sun issue. Morning or late-afternoon sun may enter below the roofline, where a blind or screen can be more effective.

Assess the rooms inside

The outdoor area should not be considered separately from the house. Sanctuary should review the effect of the proposed roof from the kitchen, living room and other adjoining spaces before recommending a tint.

Rain, drainage and house integration

Weather protection starts with the roof details

People often search for a weatherproof pergola when what they need is dependable overhead cover and well-considered rainwater management.

An acrylic sheet is only one part of that outcome.

Roof fall

The roof requires sufficient fall to guide water in the intended direction. The appropriate pitch depends on the selected roofing system, roof form and site design.

Gutters and downpipes

Gutters collect water at the low points of the roof. Downpipes then need a suitable discharge location. The design should consider both capacity and appearance, especially where the pergola meets existing house drainage or sits close to doors, paths and garden areas.

Flashing and house connections

An attached pergola requires careful detailing where the new structure meets the existing building. The appropriate connection depends on the house construction, cladding, fascia, soffit, eaves and available structural support. Flashings and junctions should be designed for the particular site rather than treated as a standard detail.

Freestanding alternatives

A freestanding pergola may be appropriate where attaching to the house is structurally difficult, visually undesirable or likely to complicate flashing and drainage. A freestanding design can sit close to the house while remaining structurally independent, subject to the final site and engineering assessment.

Exposed sides

An overhead roof manages rain falling onto the roof plane. It cannot prevent all wind-driven rain from entering through open sides. Blinds, screens or infill panels can be considered where a particular edge is exposed, but their effect on airflow, outlook and use should also be assessed.

Explore outdoor blindsExplore acrylic infill panels

Pergola design options

Acrylic roofing across different pergola forms

Mono-pitched pergolas

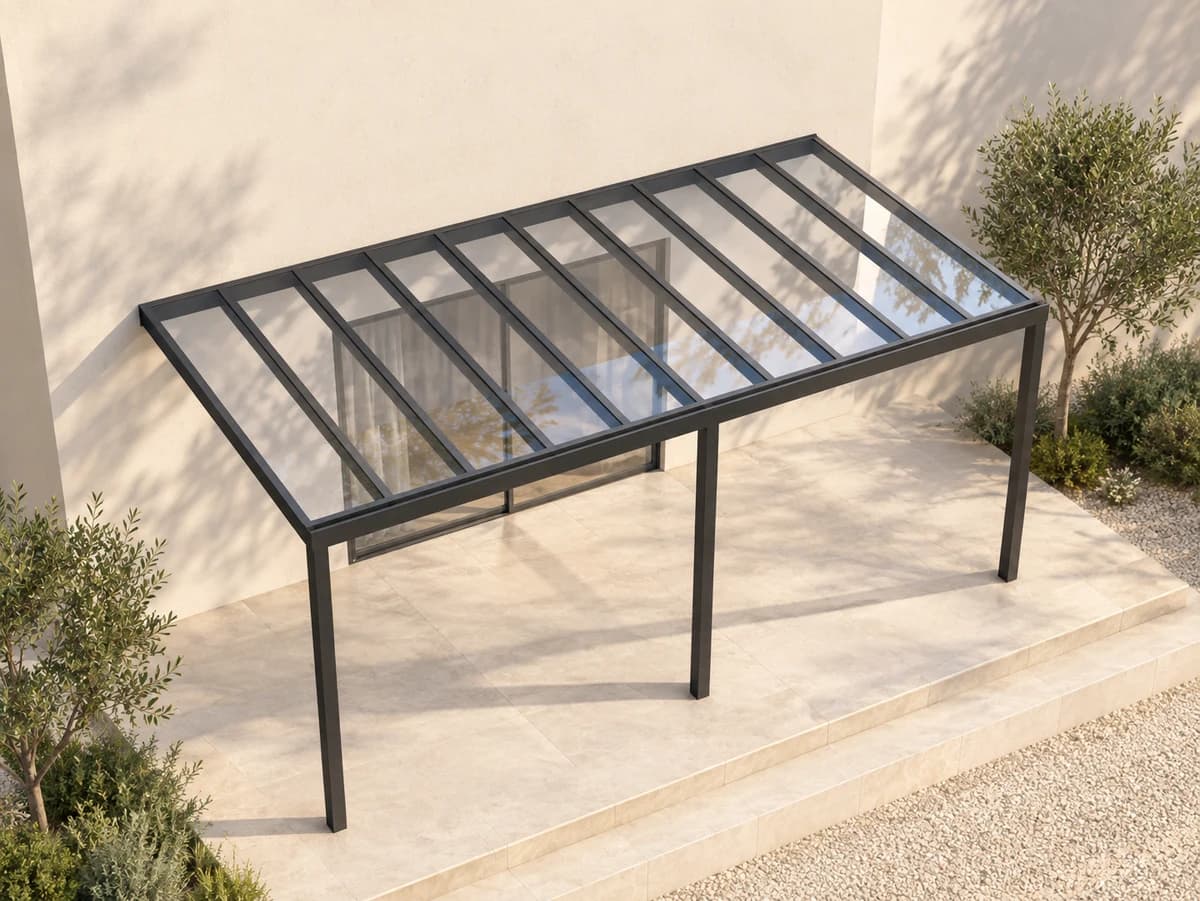
A mono-pitched pergola uses one clear roof plane and a single direction of fall. It can create a quiet extension of the house roofline and is often considered where available height is constrained or straightforward drainage is preferred. The proportions, house connection and low edge need to be carefully resolved so the structure remains open and comfortable.

View this pergola form

Gable pergolas

A gable pergola uses two roof planes meeting at a central ridge. The form creates greater perceived height and a strong architectural centre. Clear, tinted or opal acrylic can be used across the roof planes, or combined with other materials to balance daylight and shade.

View this pergola form

Hip-roof pergolas

A hip roof falls towards multiple sides, creating a composed roof form that can relate well to more complex homes and corner settings. The roof geometry, gutters, hips and acrylic junctions require coordinated detailing. Tint choice should also account for the larger number of roof planes and the direction each plane faces.

View this pergola form

Box-perimeter pergolas

A box-perimeter structure creates a strong rectangular outer edge around the roof. The form can give the pergola a crisp, contemporary profile while visually containing the roof plane. Acrylic can keep the centre of the structure light, while the perimeter establishes a more substantial architectural line.

View this pergola form

Attached pergolas

An attached pergola can create a direct transition from the house to the covered area. The design needs to consider the existing wall, fascia, soffit or roof edge, along with flashing, available height, door clearances and drainage.

Freestanding pergolas

A freestanding pergola does not rely on the house for structural support. This can be useful beside complex eaves, around a pool or courtyard, or where the pergola should read as a separate pavilion or outdoor room. Its position still needs to be coordinated with the house, paths, views and services.

Why Sanctuary

Designed as one architectural system

An aluminium pergola with an acrylic roof works best when the frame, roof, drainage and optional accessories are resolved together.

Sanctuary approaches the structure as a permanent addition to the property rather than a lightweight cover selected independently of the house.

01

Custom proportions

The dimensions, roof form, frame depth, post locations and openings are considered around the actual site. This helps protect doors and paths, maintain important views and avoid imposing a standard module on a space that requires a more considered fit.

02

Architectural integration

The roofline, pitch, frame colour and overall proportions should make sense beside the house. Sanctuary considers how the pergola will be seen from inside and outside, including the relationship to nearby windows, sliders, cladding and roof forms.

03

Aluminium construction

Aluminium provides a clean, precise frame for acrylic roofing and can be powder coated to coordinate with the exterior palette. The exact profile sizes, finishes, structural design and suitability for the site must be confirmed for each project.

04

Material selection in context

Clear, light grey, dark grey and opal should not be treated as interchangeable colour choices. The recommendation should reflect the site's sun, outlook, desired shade, adjoining rooms and roof area.

05

Design through installation

The project process brings together the roof form, frame, drainage, flashing and selected options before fabrication and installation. This reduces the risk of treating blinds, lighting, heaters or infills as disconnected additions later.

06

Combination roofing where appropriate

Where a fully acrylic roof does not provide the right balance, Sanctuary can assess whether acrylic should be combined with timber-lined, opaque or insulated roof areas. The objective is to place daylight and shade where each is most useful.

Verified Sanctuary projects

See how acrylic choices work in completed projects

Roof colour is easier to understand when it is shown in a completed setting. These project records show clear, opal, light grey, mixed and dark-tint applications already documented by Sanctuary.

Freestanding matte black gable outdoor room beside a Warkworth home

Clear acrylic and a combination roof

Warkworth Outdoor Room

Warkworth, Auckland · Gable

A freestanding gable outdoor room using clear acrylic glazing with a cedar-lined solid roof area.

View completed project
Pergola at a St Heliers townhouse

Opal acrylic

St Heliers Townhouse

St Heliers, Auckland · Gable

An open gable extension with opal acrylic roofing and custom aluminium gable framing.

View completed project
Coastal pavilion overlooking Tindalls Bay

Light grey, opal and insulated roofing

Tindalls Bay - Patio & Carport

Hibiscus Coast, Auckland · Pitched

A layered patio and carport cover combining insulated panels, acrylic roofing and battens.

View completed project
Sheltered outdoor area at Atelier Shu Cafe in Newmarket

Dark-tint acrylic

Atelier Shu Cafe

6D Kent Street, Newmarket, Auckland · Gable

An aluminium gable canopy with dark-tint acrylic roofing for a Newmarket cafe.

View completed project
View all completed projects

A considered path to site

From initial enquiry to installation

  1. 01

    Initial enquiry

    Tell Sanctuary where the project is, how the space is used and what you want the roof to achieve. You do not need to know the final form or tint before making contact.

  2. 02

    Early dimensions, photos or plans

    Provide approximate width, projection and height where possible. Photos from the garden and from inside the adjoining rooms are especially useful. Include architectural plans, renovation drawings or sketches if available.

  3. 03

    Initial estimate

    Sanctuary reviews the information and prepares an initial estimate based on the known scope and stated assumptions. This is an early guide rather than the final construction quotation.

  4. 04

    Site visit and design development

    If the initial range is suitable, the next stage is a site assessment and more detailed design discussion. This is where dimensions, sun, roofline, connections, post locations, drainage, access and material choices can be reviewed in context.

  5. 05

    Final quotation

    Once the scope has been developed, Sanctuary prepares a final quotation setting out the agreed structure, roofing, finishes, accessories, inclusions, exclusions and relevant assumptions.

  6. 06

    Fabrication and installation

    After approval and any required preliminary work, the pergola is prepared and installed in accordance with the agreed design. The current programme should be confirmed for the particular project rather than assumed from a standard timeframe.

Price guidance

What affects the cost of an acrylic roof pergola?

A useful price cannot be based on roof area alone.

Two acrylic pergolas with similar footprints may have materially different costs because the structure, house connection, access and detailing are different.

Dimensions and spans

Width, projection, height and post spacing influence the amount of material and the structural requirements.

Pergola form

A mono-pitched roof is different to fabricate and detail from a gable, hip or box-perimeter structure.

Aluminium profile sizes

Larger spans, fewer posts or more exposed conditions may require different members, connections or supporting structure.

Attached or freestanding construction

An attached structure requires assessment of the house connection and flashing. A freestanding structure may require additional posts, beams or foundations.

Site access

Restricted access, upper-level work, difficult material movement or protection of finished landscaping can affect the installation scope.

Wind exposure

Coastal, elevated or exposed sites may require additional engineering, fixings or structural capacity.

Acrylic selection

Product, thickness, tint, profile and supplier can affect material cost. The selected acrylic should be stated clearly in the quotation.

Flashing and drainage

Custom flashings, gutters, downpipes, discharge points and modifications to existing drainage can change the scope.

Foundations

The required solution depends on whether posts meet a deck, concrete slab, pavers, garden ground or another existing structure.

Blinds, lighting, heaters and infills

Accessories affect both product cost and the design work required to integrate them. Electrical work, controls, wiring and final connections should be identified separately where applicable.

Consent and engineering

Professional design, producer statements, council applications or other approval work may add cost where required.

An initial estimate is most useful when it allows the homeowner to compare like with like.

When reviewing quotes, confirm whether the price includes the aluminium frame, acrylic roofing, flashings, gutters, downpipes, foundations, site access, electrical work, engineering, consent work and GST.

A bespoke aluminium pergola is unlikely to be the right option for someone seeking only the lowest-cost temporary cover. It is more appropriate for homeowners comparing permanent, site-specific structures and wanting the result to integrate with the house.

Site-specific assessment

Consent and engineering depend on the final design

Some roofed outdoor structures may fall within an exemption, while others may require building consent, engineering or site-specific assessment.

The requirements can depend on:

  • Site
  • Dimensions
  • Roof area
  • Height
  • Attachment to the house
  • Structural design
  • Property location
  • Planning controls
  • Intended use

Even where consent is not required, other building and planning requirements may still apply.

Sanctuary can review the early project information and identify where further assessment, engineering or council advice is likely to be needed.

The final pathway should be confirmed for the completed design before work begins.

This information is general and is not legal or regulatory advice.

Frequently asked questions

Acrylic pergola questions

01

Are acrylic roof pergolas waterproof?

An acrylic-roof pergola is intended to provide overhead rain cover, but "waterproof" can be misleading when describing an open-sided outdoor structure.

Roof pitch, joints, flashings, gutters, downpipes and installation all affect how the roof manages water. Wind-driven rain can also enter through open sides.

Sanctuary should confirm the approved weather-protection terminology and any applicable warranty for the final design.

02

Will an acrylic pergola make my house dark?

It depends on the acrylic tint, roof area, depth, orientation and the size and position of nearby windows.

Clear and lighter options generally retain more daylight than opaque roofing. A large clear roof can still change the quality of light inside, particularly if it is deep or sits beneath existing eaves.

The effect should be considered from inside the adjoining rooms, not only from the deck.

03

Does clear acrylic become hot in summer?

Clear acrylic prioritises daylight and transparency, so it may feel bright or warm in sustained direct sun.

The result depends on orientation, airflow, roof depth, surrounding walls, paving, tint and low-angle sun. A tinted acrylic, combination roof or blind may be more suitable where summer glare and warmth are significant concerns.

04

Which acrylic tint should I choose?

Choose according to the site rather than personal colour preference alone.

Clear prioritises daylight and sky views. Light grey creates a subtle balance. Dark grey creates a more shaded visual effect. Opal provides diffused light without a clear view through the roof.

Sanctuary should assess orientation, adjoining rooms, roof area, intended use and the time of day the area receives direct sun.

05

Is acrylic the same as polycarbonate?

No. Acrylic and polycarbonate are different plastic materials with different properties.

The quotation should state the exact roofing product, manufacturer, grade, thickness, tint and warranty being supplied.

06

Can acrylic roofing be combined with timber or solid panels?

Yes, where the selected systems and project design permit it.

Acrylic can be positioned near doors and windows to retain daylight, while timber-lined, opaque or insulated areas provide more shade or a finished ceiling effect over seating zones.

Transitions between materials need to be considered as part of the roof and drainage design.

07

Can blinds, lighting and heaters be added?

They can be included where appropriate for the structure, layout and selected products.

Blinds may help with low-angle sun, wind or privacy. Lighting can be positioned for dining, circulation and ambience. Heaters may support cooler-season or evening use.

Mounting, wiring, clearances and controls should be resolved before fabrication wherever possible.

08

Can an acrylic pergola attach to my house?

Often, but not every house offers a suitable or straightforward connection.

The existing cladding, fascia, soffit, roof edge, structural support, door clearances, flashing and drainage all need to be assessed.

Where attachment is impractical or undesirable, a freestanding structure may be considered.

09

Do acrylic pergolas require building consent in Auckland?

Some roofed structures may fall within an exemption, while others may require building consent, professional design or site-specific advice.

The final position depends on the property, dimensions, area, height, connection and design. Planning controls may also apply.

Sanctuary can review the early information and identify where further assessment is likely to be required. The final approval pathway should be confirmed for the completed design.

10

How much does an acrylic roof pergola cost?

Cost depends on dimensions, pergola form, structural spans, profile sizes, house connection, access, foundations, wind exposure, acrylic product, flashing, drainage, accessories and any consent or engineering work.

Send approximate dimensions, photos and the project suburb for an initial estimate.

11

How should I clean an acrylic pergola roof?

Follow the maintenance instructions supplied for the exact acrylic product.

As a general principle, use soft, non-abrasive cleaning equipment and avoid harsh solvents or abrasive products that may mark the surface. Safe cleaning methods and access should be confirmed with the product supplier and Sanctuary.

12

Which parts of Auckland does Sanctuary service?

Sanctuary is Auckland based.

Include the project suburb in your enquiry so the team can confirm whether the address is within the current service area and whether travel or access considerations apply.

13

How long does an acrylic pergola project take?

The programme depends on design development, approvals, engineering, material availability, fabrication requirements, site access and the current installation schedule.

Sanctuary should provide a project-specific indication once the early scope is understood.

Your project, in context

Request an initial estimate for your acrylic pergola

Send Sanctuary enough information to understand the space, the house beside it and what you want the roof to achieve.

You do not need to make every material decision before enquiring. Sanctuary can use the early information to identify what needs further assessment and prepare the next step.

Request an initial estimateView completed projects

Useful information to include

  • Project suburb
  • Approximate width, projection and height
  • Photos from the garden or deck
  • Photos looking from adjoining rooms towards the proposed roof
  • Plans or drawings, if available
  • Preferred pergola form and acrylic tint, if known
  • Whether the structure may be attached or freestanding
  • Desired blinds, lighting, heaters, screens or infills
  • Your priorities for daylight, rain cover, shade, wind and privacy

Tell us about the site

Request an initial estimate

Share your suburb, approximate dimensions and a few photos of the area. Tell us what matters most, whether that is preserving daylight, adding rain cover, reducing glare or creating a more sheltered outdoor room.

Fields marked required are needed before the enquiry can be assessed.

Approximate dimensions Optional
Main priorities Optional
Desired accessories Optional

Add photos of the proposed area from inside and outside. You can also add plans, sketches or renovation drawings. Up to 8 files and 20 MB in total.

We use your details and uploads to assess and respond to your enquiry. They will not be published. See our Privacy Policy for more information.

Request an estimate