Auckland homes
Plan the roof, structure and details around the house and outdoor area.
Explore home pergolas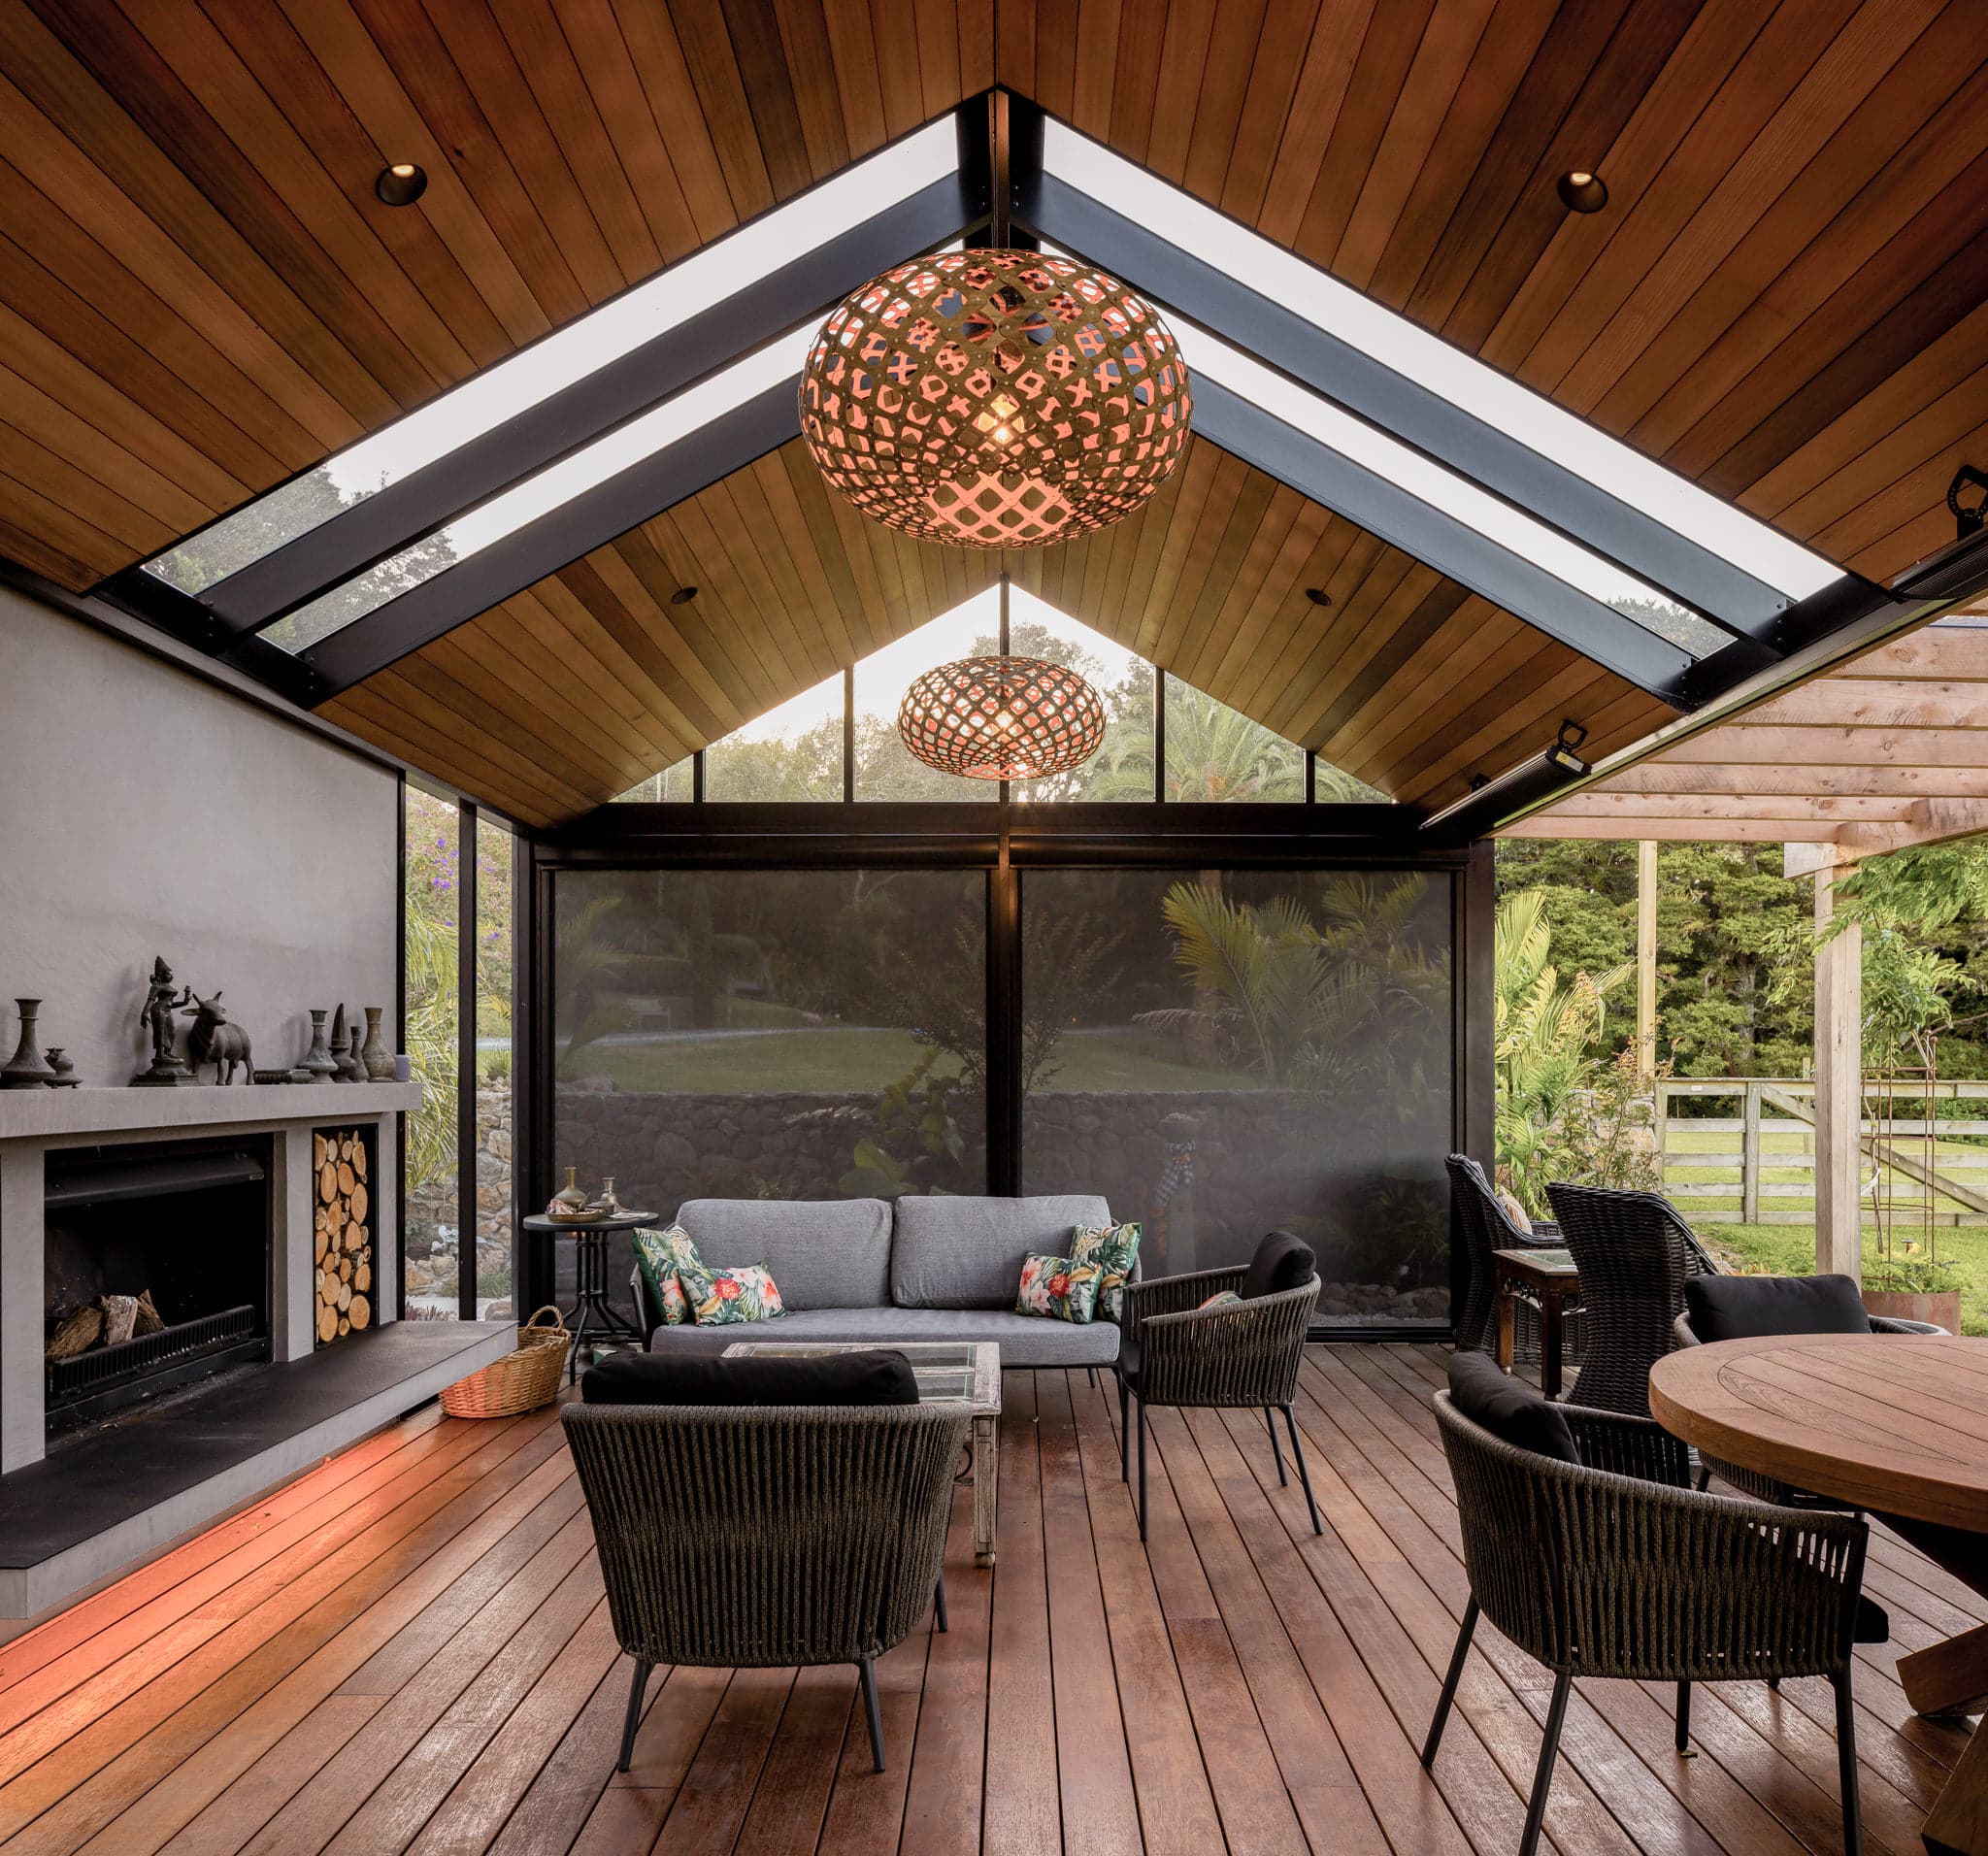
Fixed-roof pergola design and build in Auckland
Designed and installed around the architecture and how the space will be used.
Choose one to see two related projects.
Sanctuary designs and installs fixed-roof pergolas for homes and selected commercial sites.
Plan the roof, structure and details around the house and outdoor area.
Explore home pergolasPlan the structure around operations, access and delivery.
Explore commercial workShare drawings, tender information and project responsibilities.
Explore collaborationSend the suburb, photos, rough dimensions and intended use.
We confirm the form, materials, scope, price and current programme.
We prepare, install and hand over the completed pergola.