SANCTUARY PERGOLAS
  • Home
  • Projects
  • Products
  • Contact
Quick Estimate
Home
Products
Projects
Pergola Guides
Contact
Privacy Policy
InstagramFacebook
★★★★★5.0 · 61 Google reviews

Have a project in mind?

Let's talk

Warehouse

71G Montgomerie Road

Mangere, Auckland 2022

New Zealand

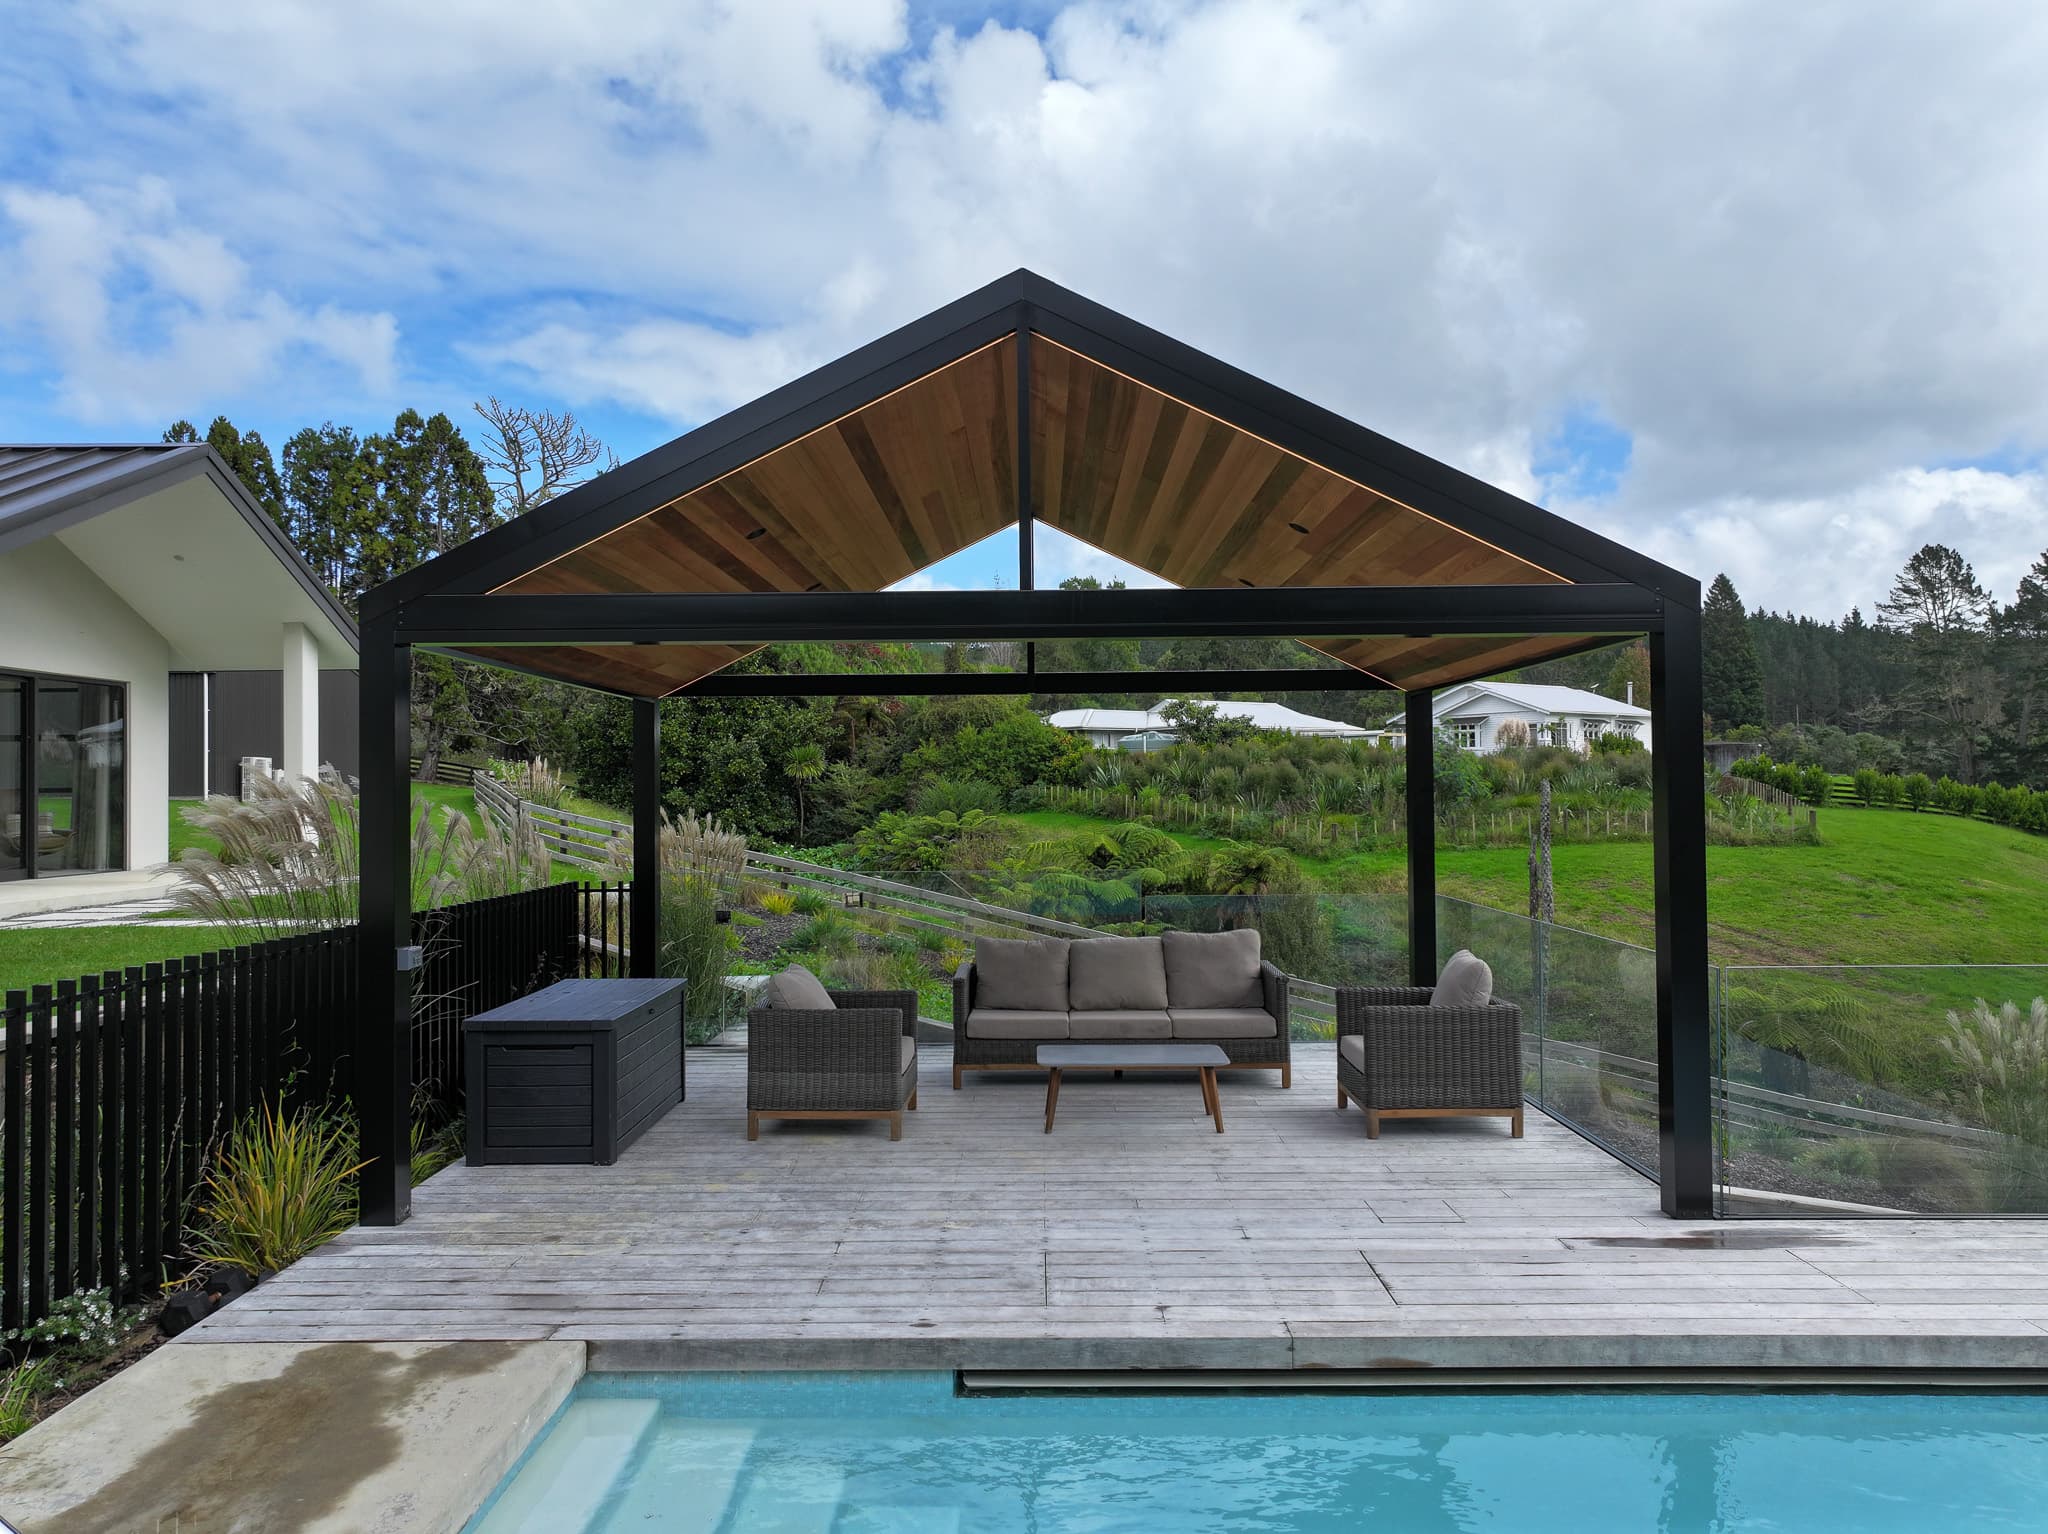
Custom poolside gable pergola and outdoor room beside an Auckland home

Custom pergolas in Auckland

Pergolas for Auckland homes, designed from the house out

Sanctuary designs and installs bespoke pergolas around the home, the site and the way the outdoor area needs to work. Start with photos and rough dimensions, not a preselected product.

Send photos and rough dimensionsPlan the design brief
  • Custom form and layout
  • Residential and selected commercial work
  • Design and installation together

One connected design

A pergola changes the deck, the house and the space between them

The roof is the most visible decision, but it is not the first one.

The starting point is how the outdoor area should be used, what makes it difficult today and which parts of the home should remain light and open.

From there, roof form, material, post placement, drainage, side protection and accessories can be developed as one response to the site.

This prevents a useful cover from solving one problem while creating another at the doors, windows, paths or edges beside it.

Three tests for the finished room

Useful outside. Considered inside. At home in the architecture.

The product choice matters, but the finished relationship between the home and outdoor area matters more.

01

Make the outdoor area useful for real routines

Design around the table, barbecue, doors, paths and furniture that need to work below the roof. The goal is a space that supports ordinary days as well as larger gatherings.

02

Protect the rooms beside it

A new roof changes the view and daylight from the kitchen, lounge or dining room. Its depth, form and material should be judged from inside the home as well as from the deck.

03

Give the addition a reason to belong

Roof geometry, frame colour, post locations, drainage and the house connection should read as one resolved architectural response, not a collection of separate products.

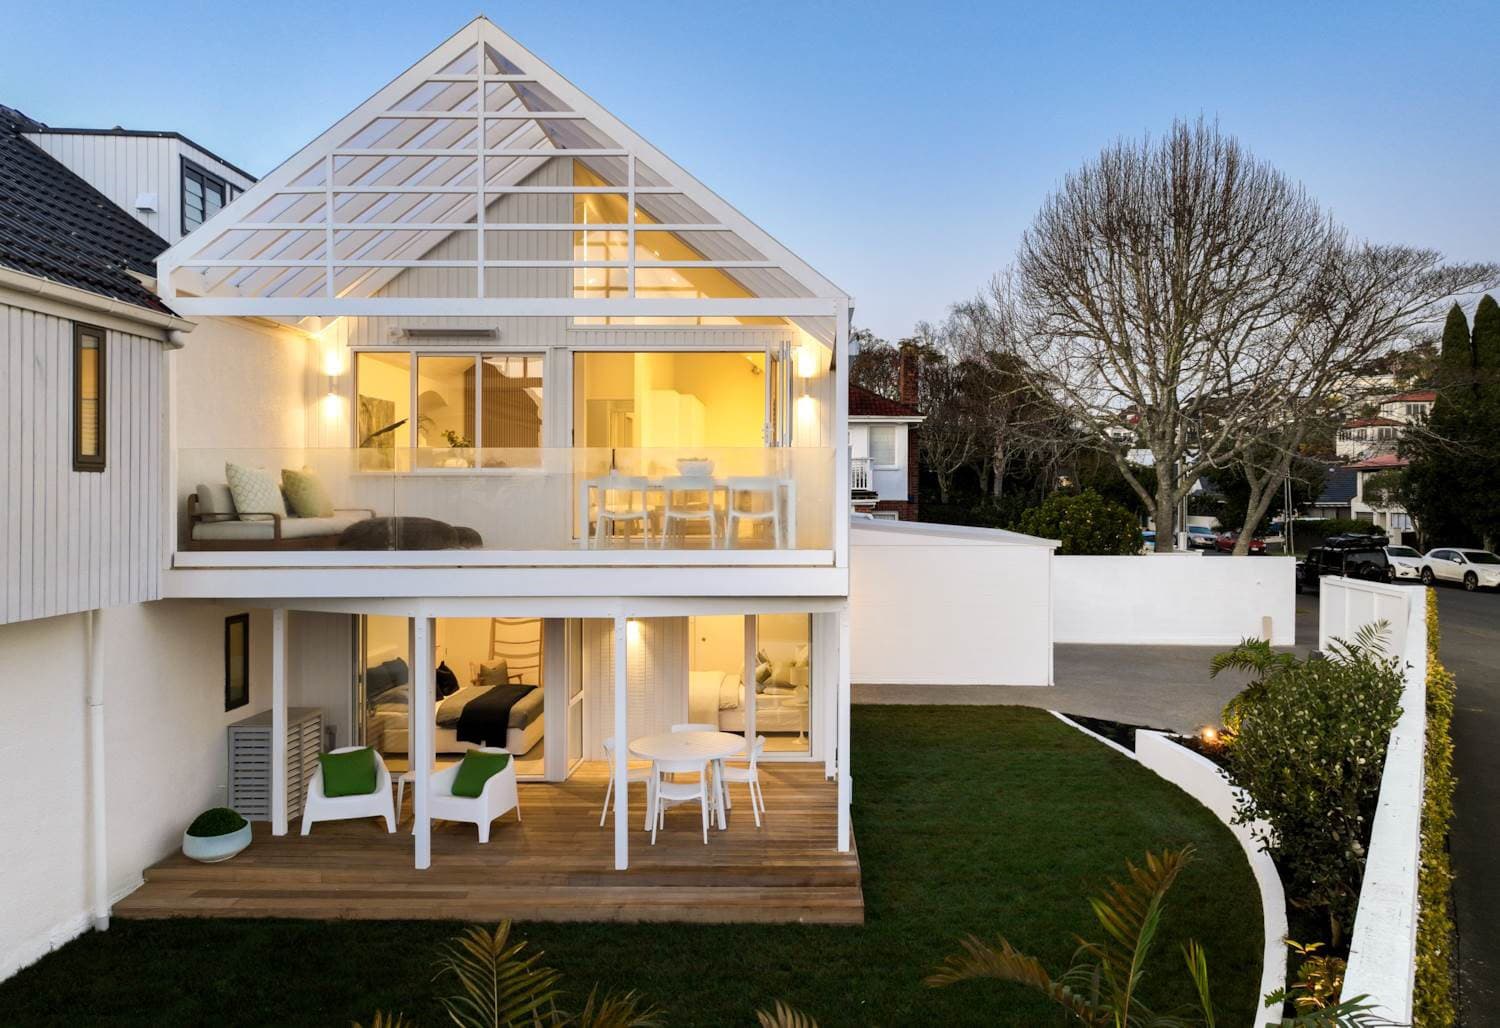
Auckland pergola using different roof and edge treatments around an existing home

Before choosing the form

Four questions make the first design conversation more useful

A clear brief explains the intended change without pretending the technical answer is already known.

What cannot the space do today?

Rain may end meals, afternoon sun may make the deck difficult to use, or an exposed edge may leave the area feeling temporary. The design brief starts with that practical limitation.

What should remain open?

Identify the views, doors, paths and daylight that matter. This gives post placement, roof depth and side protection a clear boundary to work within.

What does the house suggest?

Existing roof pitch, eaves, cladding, window heads and architectural character help determine whether a pitched, gable, hip or box-perimeter form will feel at home.

Which weather reaches the site?

Overhead rain is only one part of the exposure. Wind direction, low sun, privacy and the open edges of the structure may need their own design response.

Built evidence across Auckland

Different homes lead to different pergolas

Completed projects show how form, roofing, screening and the existing building come together at full scale. They are a better starting point than choosing a detail in isolation.

Freestanding matte black gable outdoor room beside a Warkworth home

Freestanding gable outdoor room

Warkworth Outdoor Room

Warkworth, Auckland · Gable

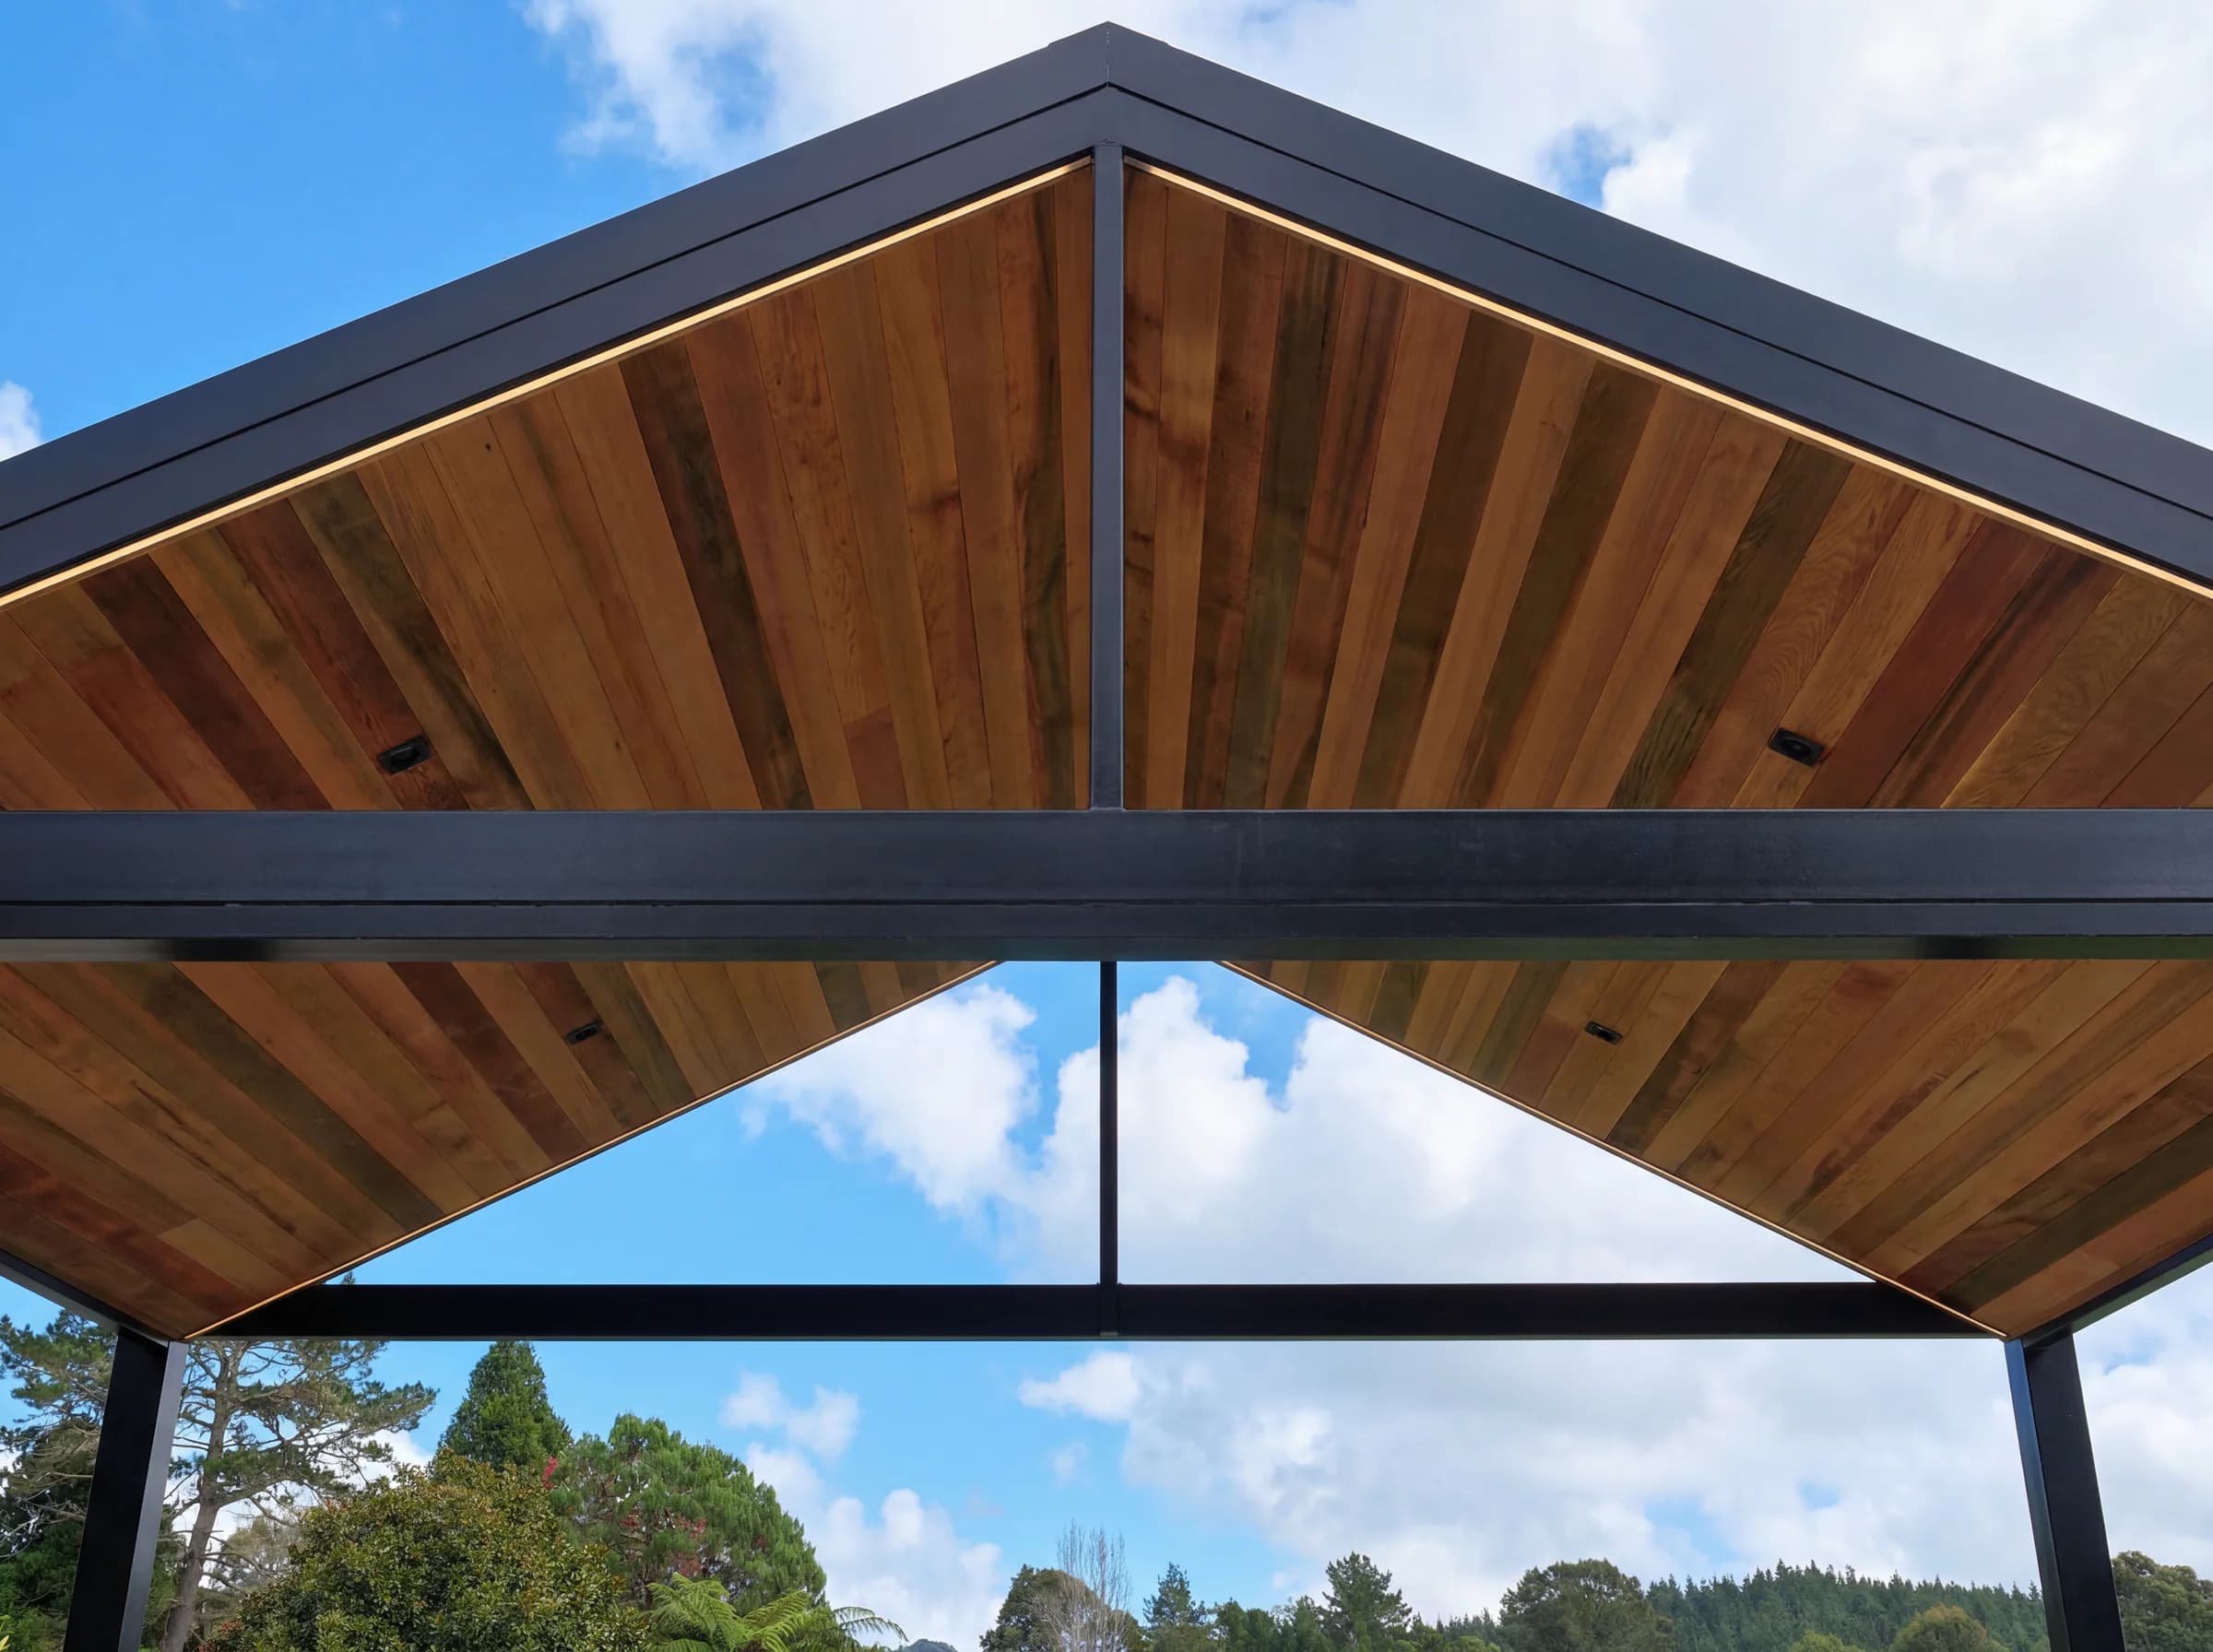
A freestanding gable structure combines clear acrylic glazing, a solid roof zone, cedar lining, a deck and fireplace within one complete outdoor-room design.

Review the completed project
Coastal pavilion overlooking Tindalls Bay

Mixed roofing around a complex home

Tindalls Bay - Patio & Carport

Hibiscus Coast, Auckland · Pitched

Insulated panels, acrylic roof zones, timber battens and mesh blinds respond to different uses and light conditions across a layered patio and carport.

Review the completed project
Hip roof pergola in the Waitakere bush

A new hip roof on a familiar footprint

Muriwai Courtyard

Muriwai, Auckland · Hip

A hipped aluminium pergola with opal acrylic roofing replaces an older structure while retaining the courtyard layout that already worked for the home.

Review the completed project
Covered hospitality courtyard with gable pergola

Commercial gable integration

The Good Home Takanini

260 Great South Road, Takanini, Auckland · Gable

A two-zone gable roof follows the pitch and rhythm of the existing building to create a covered hospitality courtyard with a coherent street-facing form.

Review the completed project
Browse completed projects

Form follows the house and site

Choose the roof geometry for a reason

Available height, the existing roofline, drainage, the area to cover and the desired architectural presence all help determine the most useful form.

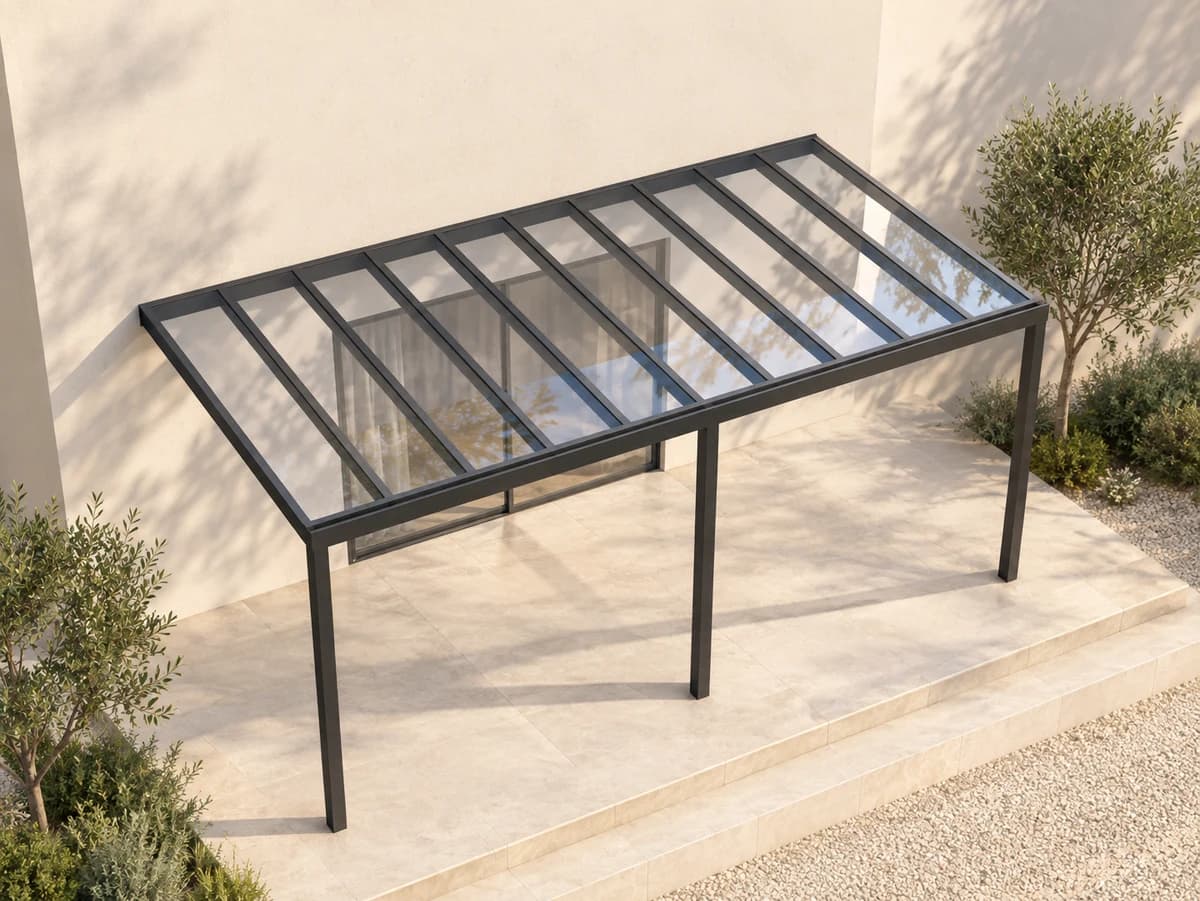
Mono-pitched pergola

A single roof plane can extend quietly from the house and create a direct drainage path. Available height, the low edge and the connection to the existing building guide the proportions.

Explore this pergola form

Gable pergola

A central ridge creates height and a stronger architectural centre. The pitch, gable end and relationship to the existing roofline need to be resolved together.

Explore this pergola form

Hip roof pergola

Multiple roof planes can respond to a courtyard, corner or more complex house geometry. Every fall affects framing, drainage and the appearance from above and below.

Explore this pergola form

Box-perimeter pergola

A crisp outer frame gives the roof a defined rectangular profile. The structure within it can then respond to the required fall, material and span.

Explore this pergola form

Material changes the room

Decide what the roof should do to light, shade and character

Acrylic, solid and combination roofs create different conditions below the pergola and inside the rooms beside it.

Acrylic roofing

What it prioritises
Prioritises transmitted daylight and a lighter visual connection overhead.
What to check
Tint, roof depth, direct sun and the daylight available to adjacent rooms all change the result.
Review this approach

Solid or lined roofing

What it prioritises
Creates a more ceiling-like room and stronger overhead shade.
What to check
The effect on adjoining rooms, roof build-up, drainage and the desired underside finish should be reviewed early.
Review this approach

Combination roofing

What it prioritises
Places transparent and solid zones according to the use below and the light needed beside the deck.
What to check
The transition between materials must be designed as part of the roof, not treated as an afterthought.
Review this approach

Unsure at the start

What it prioritises
Keeps the brief focused on use, light, shelter and architecture before a product is selected.
What to check
Photos, orientation, approximate dimensions and comparable projects make the first comparison more useful.
Review this approach

A roof is only the upper boundary

Plan the open edges with the same care as the roof

Overhead cover, wind, low sun and privacy are related, but they are not the same problem. Name the condition at each edge before deciding how enclosed the outdoor room should become.

Rain from above

Roof fall, flashings, gutters, downpipes and the discharge point form one rainwater path. The house connection and every change in roof plane need to support that path.

Wind and low sun

Open sides allow air and views, but they also admit wind-driven rain and low-angle sun. Blinds, infill panels or a change in layout may be considered where an edge needs more protection.

Privacy and enclosure

Screens can make an exposed boundary more comfortable, yet every added edge changes outlook, airflow and how enclosed the room feels. Decide which edges should stay open before adding products.

Review outdoor blindsReview acrylic infill panelsReview slat screens

Clarity before commitment

Move from an early brief to an agreed pergola design

Each stage should reduce uncertainty. Known information, open decisions, project-specific checks and the next action stay visible throughout.

  1. 01

    Share the site and the outcome

    Send the project suburb, photos and rough dimensions. Explain how the area is used now, which rooms sit beside it and what you want the pergola to make easier.

  2. 02

    Receive a grounded first assessment

    Sanctuary reviews the known scope, identifies missing information and outlines a useful next step. Early assumptions stay visible instead of being presented as final decisions.

  3. 03

    Review the site and design options

    The house connection, roof form, post locations, daylight, drainage, access and edge protection can then be considered together. Comparable projects and drawings help make the trade-offs tangible.

  4. 04

    Confirm the design and quotation

    The agreed dimensions, structure, roofing, finish, accessories, inclusions and exclusions are brought into one defined scope. Revisions can be resolved before commitment.

  5. 05

    Prepare and install

    After approval and any required preliminary work, the pergola is prepared and installed to the agreed design. Timing is confirmed for the actual project and current programme.

Cost follows scope

Compare the complete project, not a square-metre shortcut

Two pergolas with similar footprints can require different structures, connections, drainage and site work.

A useful early estimate explains its assumptions. A final quotation should make the agreed outcome, inclusions, exclusions and options easy to understand.

Size, height and spans

Width, projection, roof height and the feasible post layout affect material quantities, structure and the experience below the roof.

Roof form and materials

Pitched, gable, hip and box-perimeter forms use different geometry and detailing. Acrylic, solid and combination roofs also create different scopes.

House connection and foundations

An attached structure, a freestanding structure or work around an existing deck requires different support, flashing and foundation decisions.

Drainage and site exposure

Roof fall, gutters, downpipes, discharge, wind exposure and coastal conditions need to be understood for the actual site.

Access and existing conditions

Restricted access, sloping ground, existing structures and services can change how the work is designed and installed.

Integrated options and approvals

Blinds, infill panels, lighting, heating, engineering, documentation and council processes add scope where the design requires them.

Before comparing totals, check that each proposal describes the same finished result.

  • Agreed footprint, heights and roof form
  • Frame, roof materials and finish
  • Posts, foundations and house connections
  • Flashings, gutters and downpipes
  • Blinds, screens, lighting or heating
  • Electrical and other trade responsibilities
  • Engineering or approval work, where applicable
  • Access assumptions, exclusions, GST and next steps

Project-specific by necessity

Some answers should wait for the completed design

Accurate advice includes being clear about what a photo, an approximate dimension or a generic product description cannot confirm.

01

Posts, spans and engineering

The cleanest feasible structure depends on dimensions, loads, site exposure, support conditions and the completed design. A specific span or post-free result should wait for proper assessment.

02

Consent and property requirements

Requirements depend on the property and final design. Sanctuary can identify likely checks, but the approval pathway must be confirmed for the actual project.

03

Products, warranties and maintenance

The quotation should identify the selected products and the current written information that applies to them. Generic material claims are not a substitute for project-specific documents.

Questions worth resolving early

Planning a custom pergola in Auckland

These answers explain the main decisions. The final recommendation still depends on the property, selected products and agreed design.

01

What type of pergola is best for an Auckland home?

There is no single best form. A pitched, gable, hip or box-perimeter pergola can each be appropriate depending on the house roofline, available height, area to cover, drainage and the architectural presence you want.

Start with the site and intended use, then compare the forms against those constraints rather than choosing from appearance alone.

02

Does Sanctuary design and install custom aluminium pergolas?

Yes. Sanctuary designs and installs bespoke aluminium pergolas around the home, site and intended use. The final structure may also incorporate steel where the project design requires it.

Roof form, frame colour, post placement, drainage and integrated options are developed as parts of one design.

03

Should I choose acrylic or a solid pergola roof?

Acrylic roofing can retain more transmitted daylight and visual openness, while a solid or lined roof creates stronger overhead shade and a more ceiling-like character. A combination roof can place each effect where it is most useful.

The choice should be assessed against orientation, roof depth, adjoining windows, the activity below and the desired appearance from inside and outside.

04

Can a pergola attach to the existing house?

Often, but the cladding, fascia, soffit, roof edge, available support, door clearances, flashing and drainage all need to be reviewed.

If attachment is not suitable, a freestanding structure may be considered close to the house, subject to the site and final design.

05

Can outdoor blinds, screens, lighting or heaters be included?

These options can be considered where they suit the structure and selected products. Blinds or screens may help an exposed edge, while lighting and heating can support evening or cooler-season use.

Mounting, wiring, controls, drainage and clearances are best planned before fabrication.

06

How much does a custom pergola cost in Auckland?

Cost depends on the complete scope, including dimensions, spans, roof form, materials, connections, foundations, drainage, access, integrated options and any engineering or approval work.

Send the suburb, photos and rough dimensions for a useful first indication based on the information available and clearly stated assumptions.

07

Will my pergola need building consent?

Requirements depend on the property and completed design, not one dimension alone. Area, height, structure, house connection, site conditions and planning controls may all be relevant.

Sanctuary can review the early information and identify where further assessment is likely to be needed. The final pathway must be confirmed for the actual project.

08

How long does design and installation take?

Timing varies with design development, site assessment, engineering or approvals, material availability, fabrication, access and the current installation programme.

A project-specific indication can be provided once the early scope is understood. A fixed timeframe should not be assumed before then.

09

Does Sanctuary work on commercial pergola projects?

Sanctuary works on residential and selected commercial projects. Commercial scope, coordination, access and operational requirements need to be understood before suitability is confirmed.

Include the site, intended use and any plans or professional-team information with the enquiry.

10

Which parts of Auckland does Sanctuary service?

Sanctuary is Auckland based. Include the project suburb in your enquiry so the team can confirm the current service area and any travel or access considerations.

11

What should I send for a useful first assessment?

Send the project suburb, a few photos of the house and outdoor area, rough width and projection, and a short explanation of what you want the space to do.

A view from inside the adjoining room, plus any plans or sketches already available, can help the team assess daylight, connections and likely design constraints.

One useful next step

Show Sanctuary the house, not just the empty deck

Photos from outside reveal the likely structure and connections. A view from inside the adjoining room shows what the new roof should preserve. Rough dimensions and a short description are enough to begin.

Send my project details

Start with

  • The project suburb
  • Approximate width and projection
  • Photos of the outdoor area and house
  • A view from inside the adjoining room
  • How you want to use the space
  • The main issue with rain, sun, wind or privacy
  • Plans or sketches, if available
  • Your intended timeframe, if known

Start with what you know

Send your pergola project details

Add the suburb, a few photos and rough dimensions. Tell us what the outdoor area cannot do today, which rooms sit beside it and what you want the new structure to improve.

Fields marked required are needed before the enquiry can be assessed.

Approximate dimensions Optional
Main priorities Optional
Desired accessories Optional

Add photos of the proposed area from inside and outside. You can also add plans, sketches or renovation drawings. Up to 8 files and 20 MB in total.

We use your details and uploads to assess and respond to your enquiry. They will not be published. See our Privacy Policy for more information.

Send project details